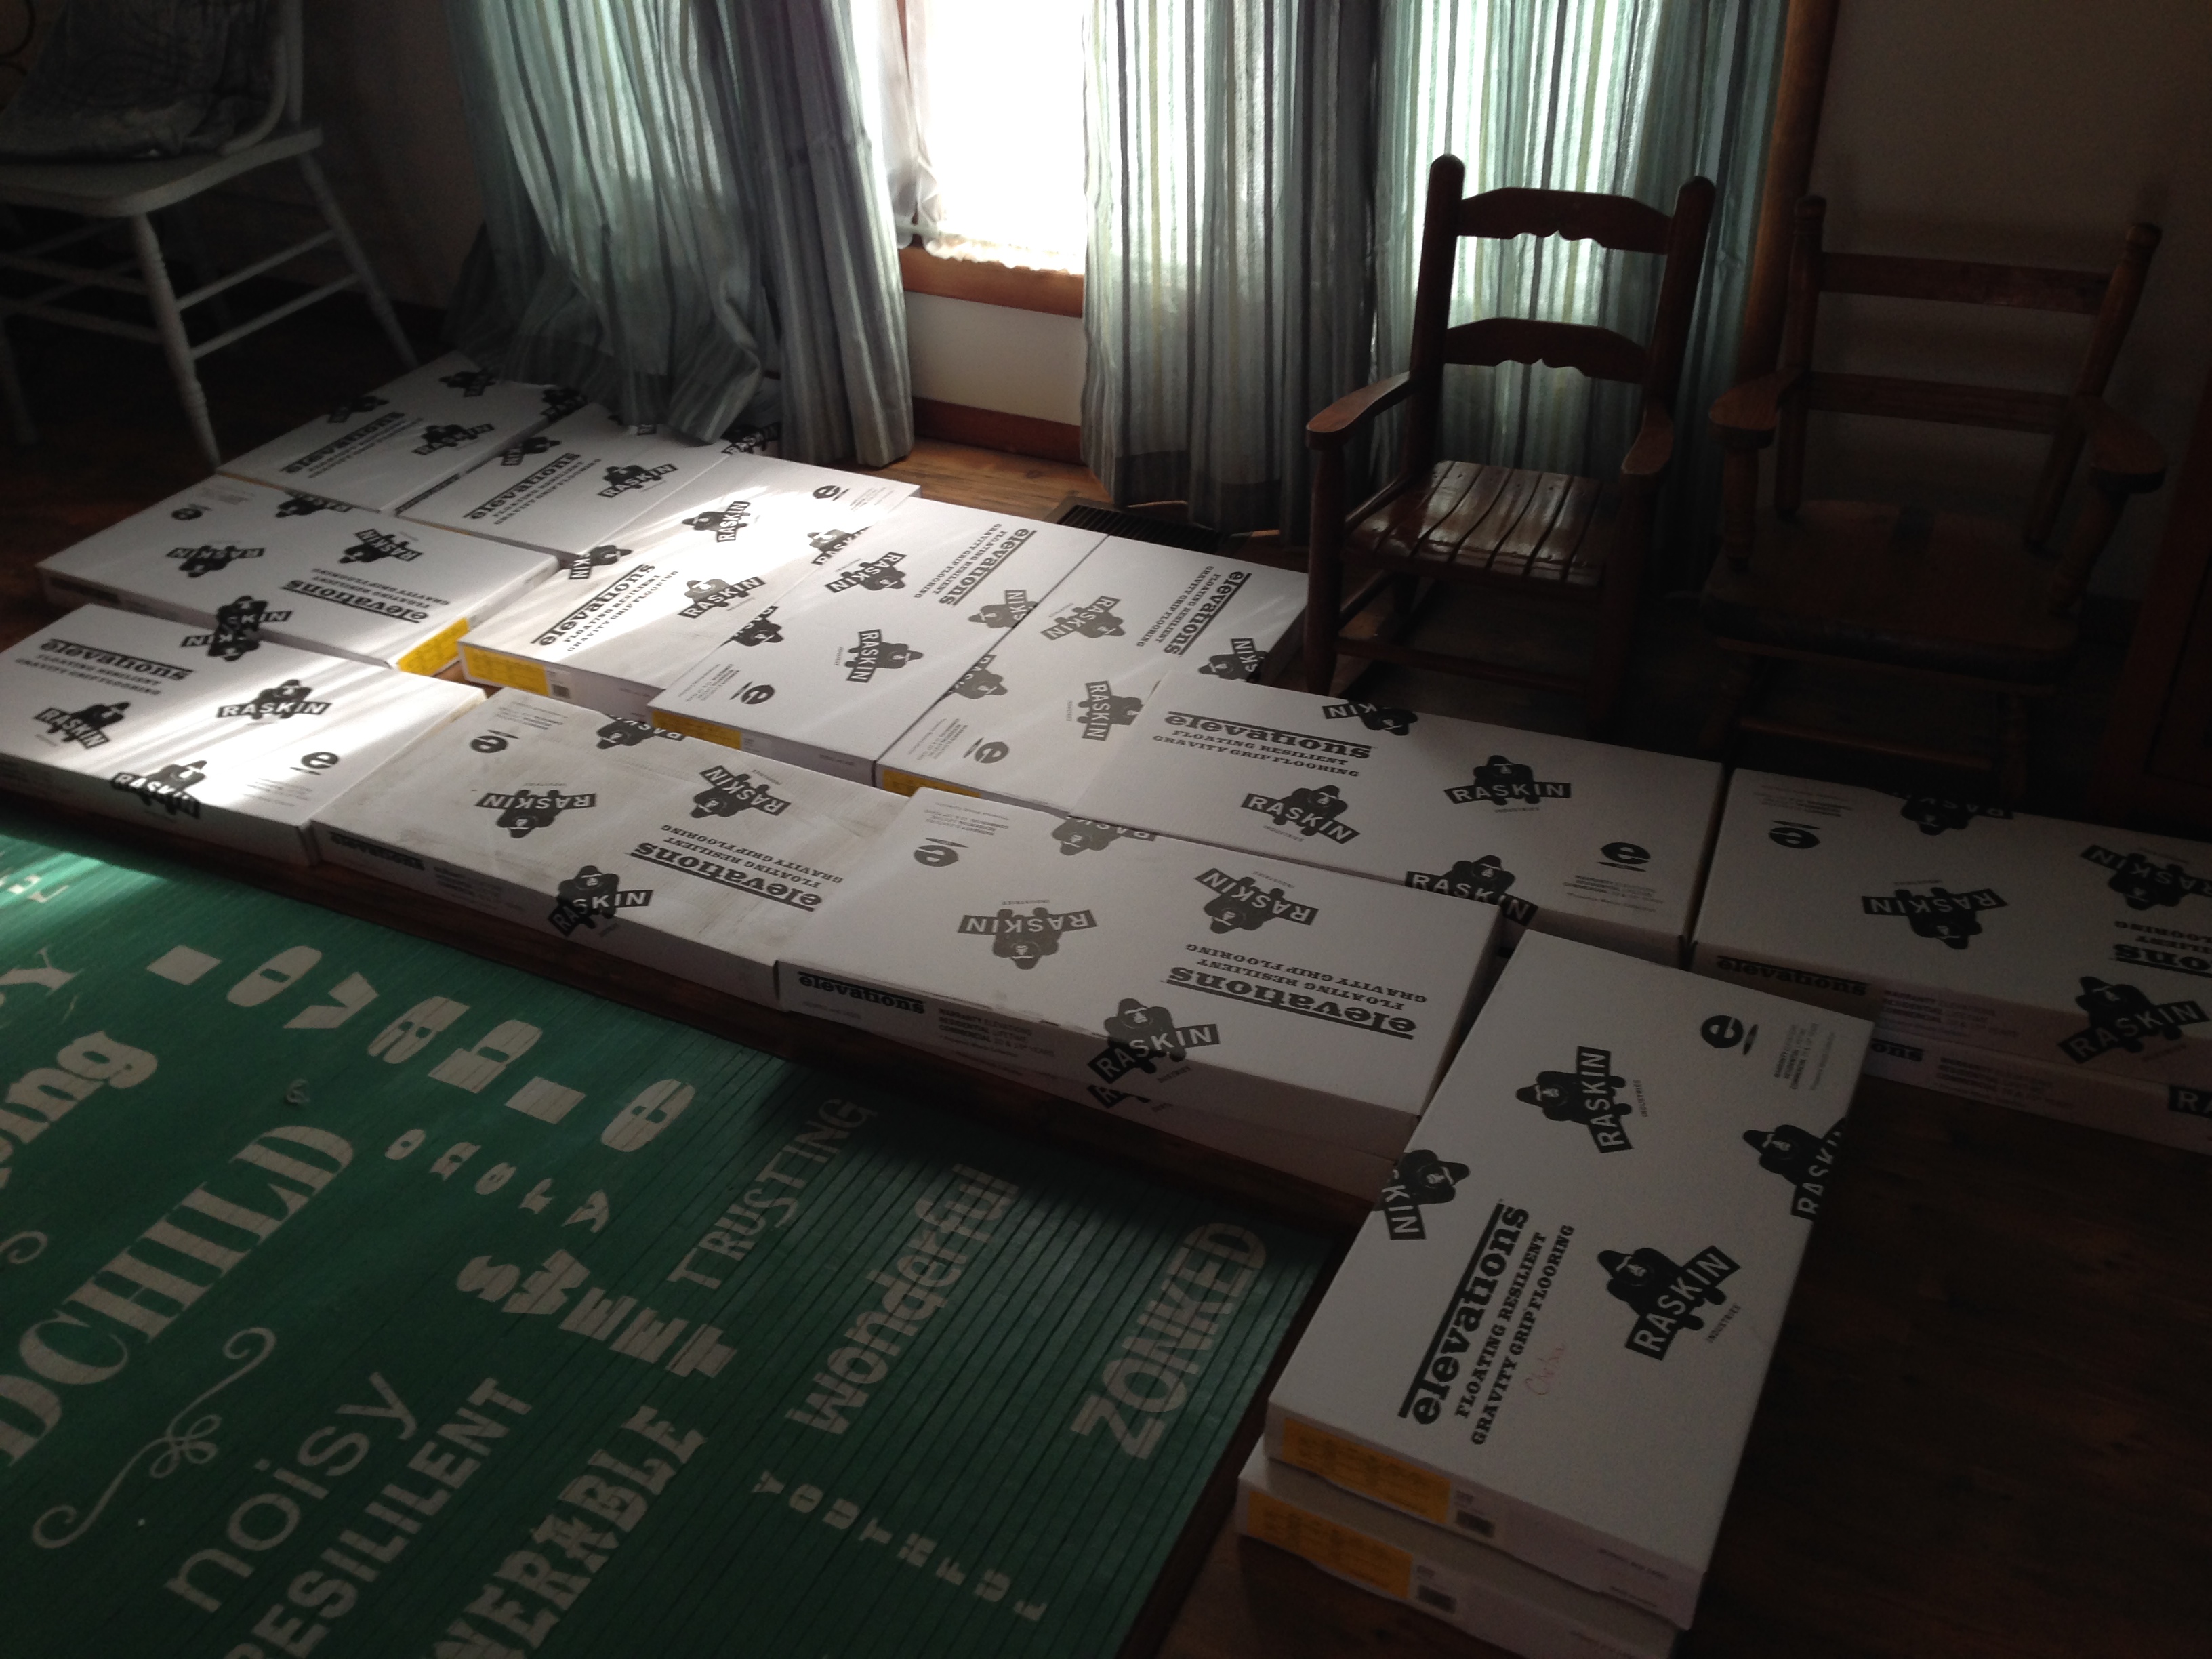
We have new floors! This was a big project with a few delays, but overall, not a bad DIY project. Basically, there were only two fights with Danny firing me each time so that was probably a record. And with the money we saved….what’s a couple of minor spats after 41+ years. 🙂
We will still use caulking between the tile and outside doors and around the bathtub and toilet. 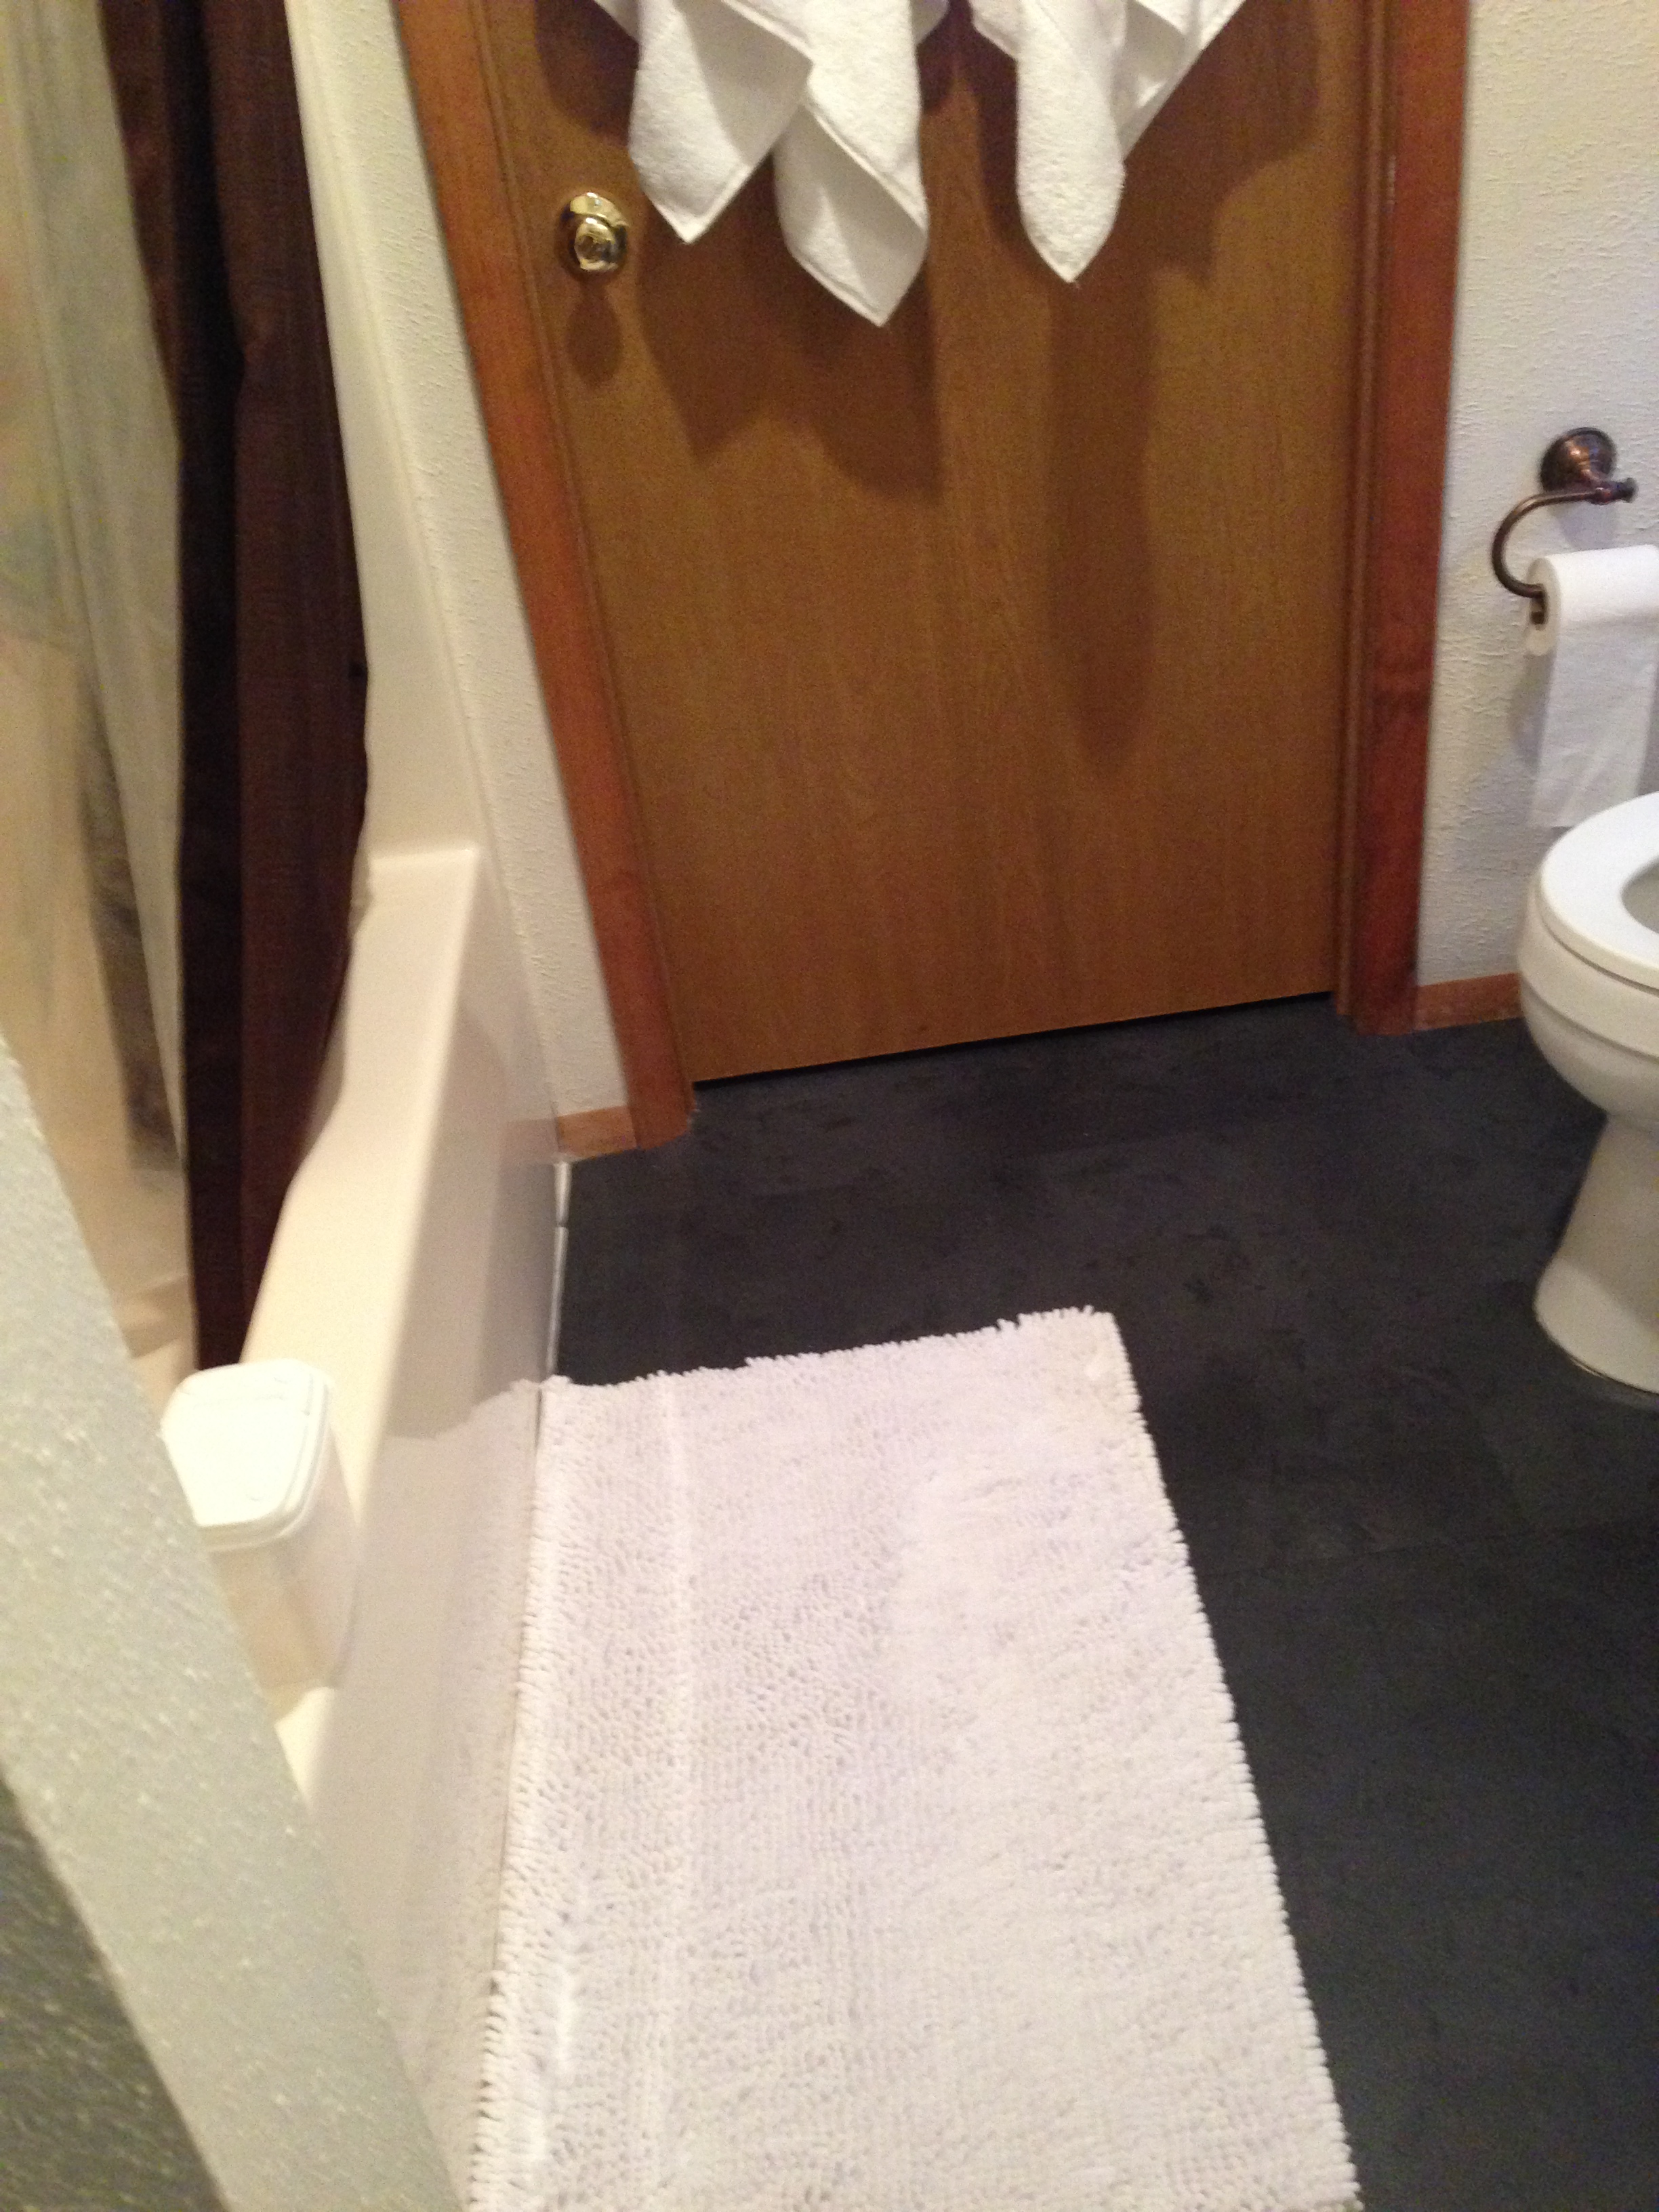
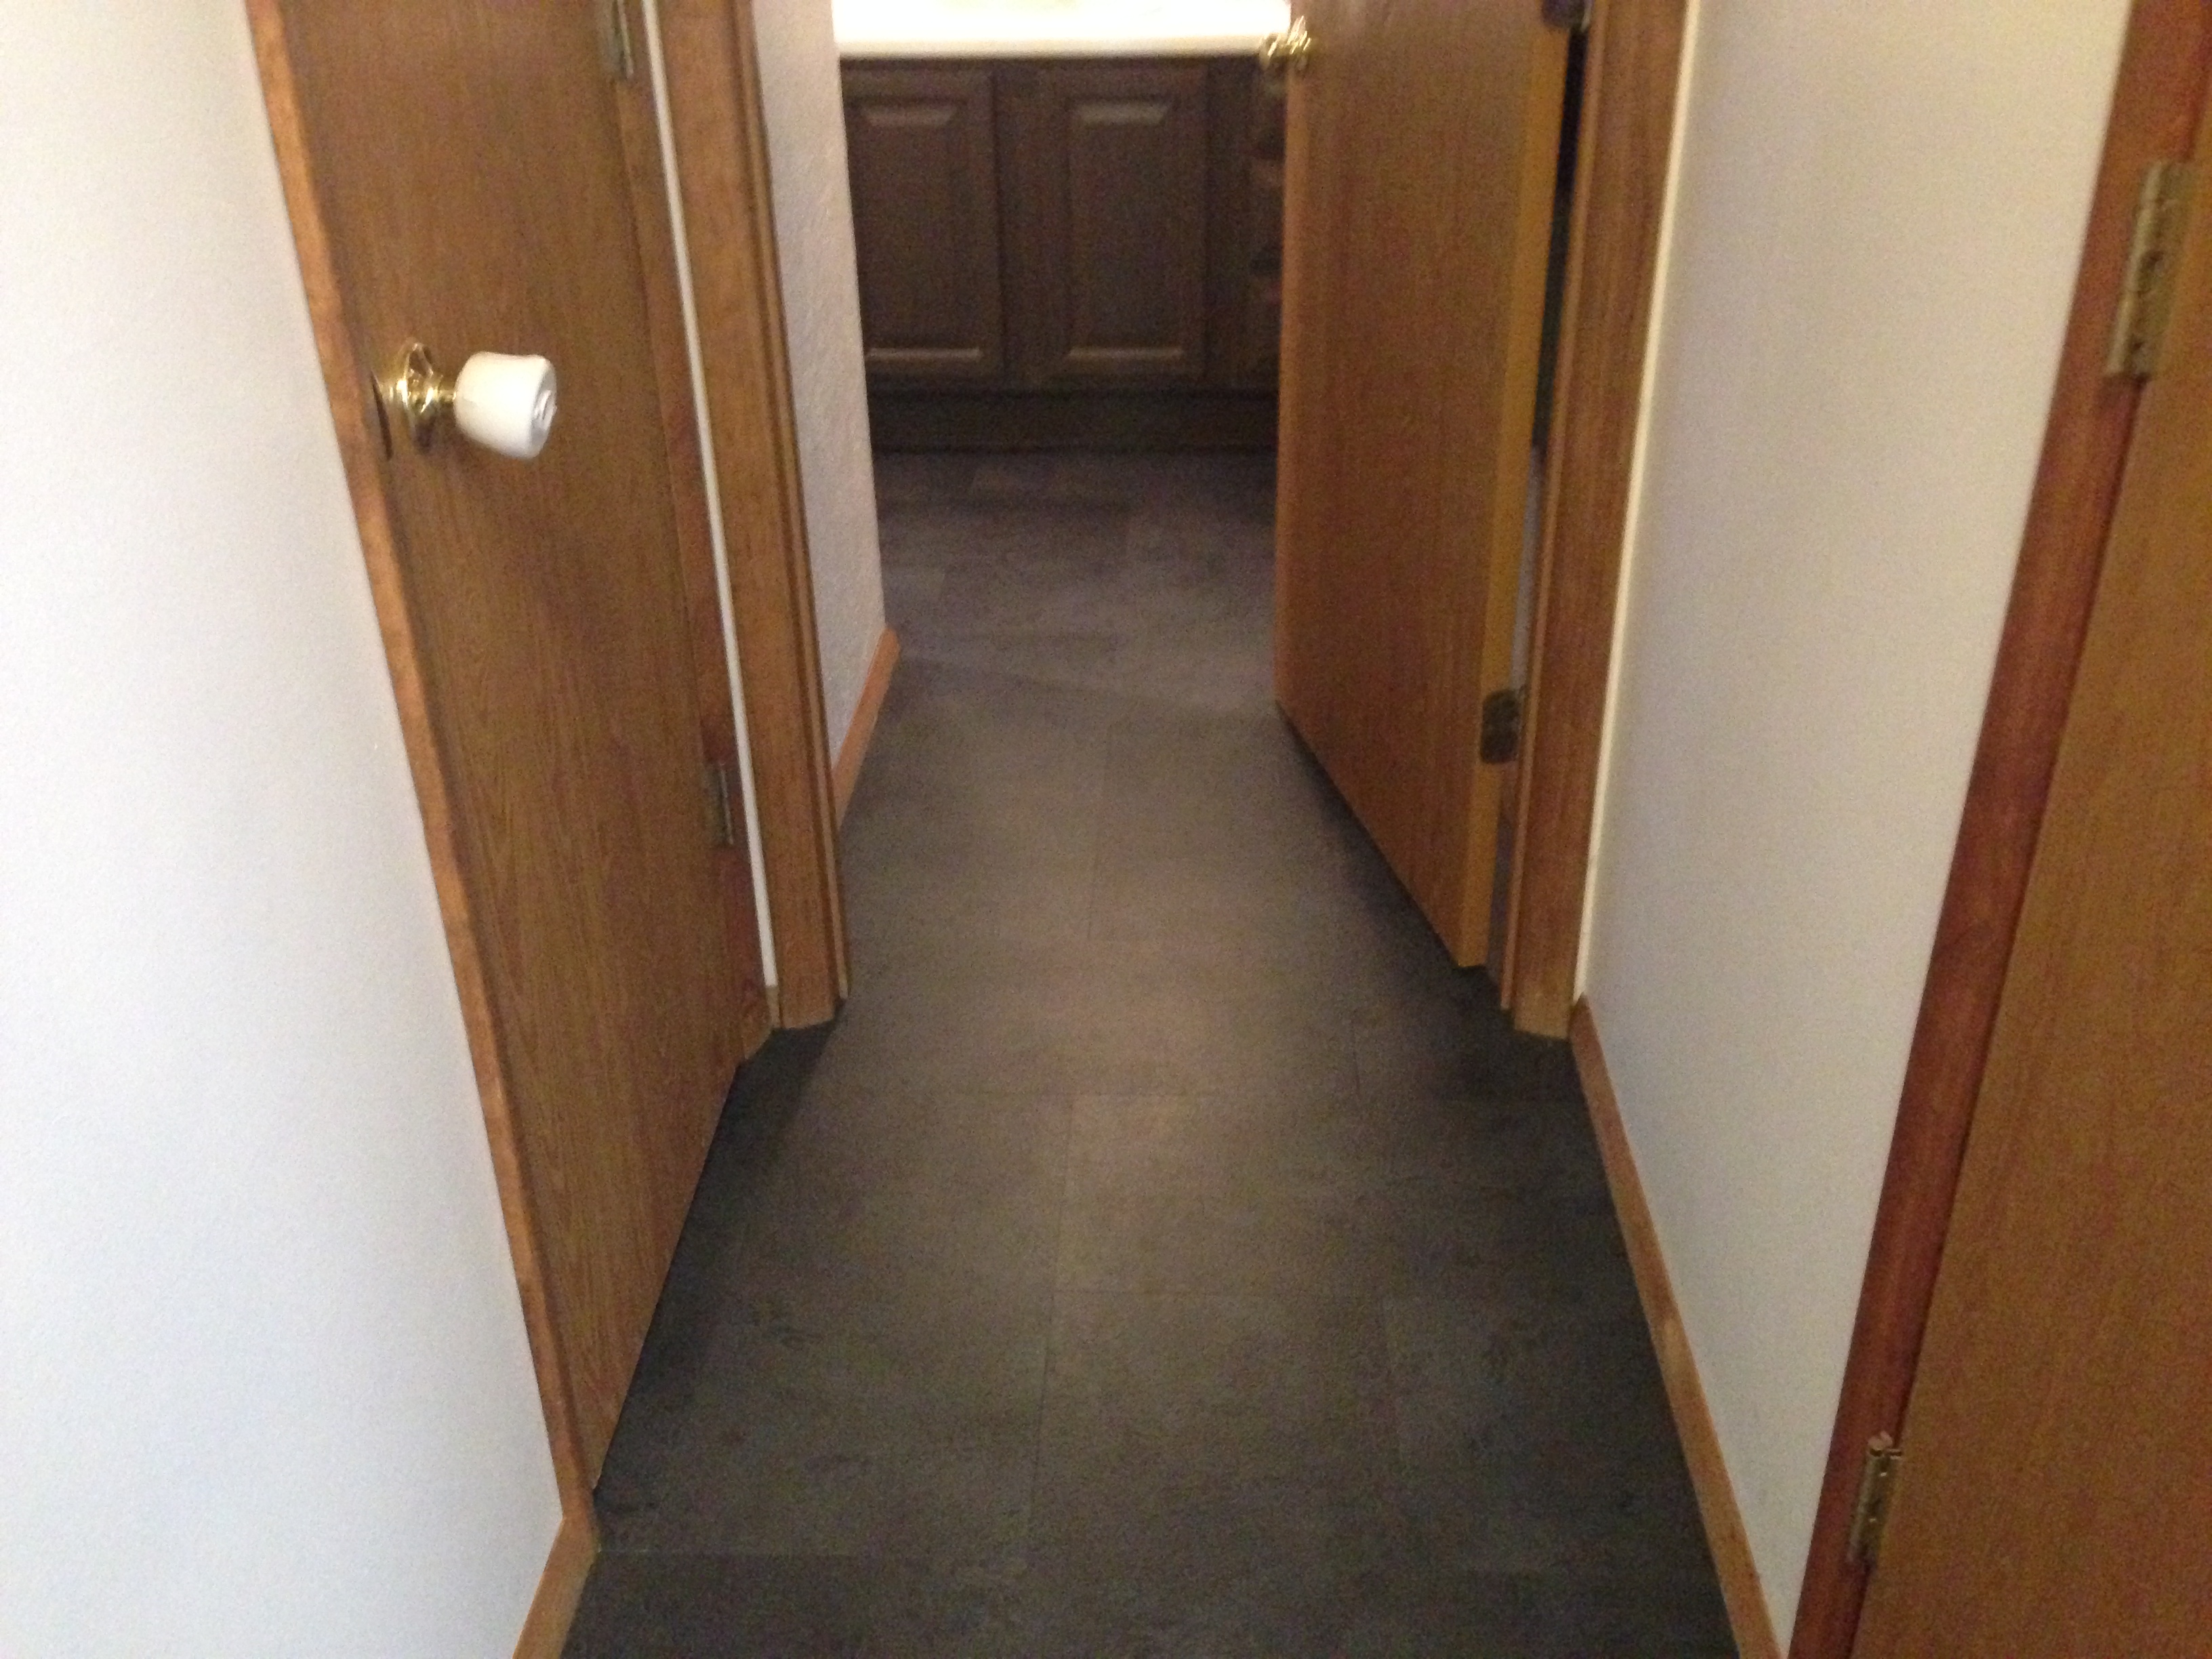
We needed to replace the vinyl floor that went from our dining room, kitchen, hallways, and bathroom. These floors were still in good shape but were terribly hard to keep clean. I had tried everything. By the way, Scrubbing Bubbles bathroom cleaner worked the best on it, but I didn’t want to go through that process too many times as it only helped for a short time. (The Graphics Fairy – Cleaning Vinyl Floors) We did find out that even though we had two vinyl floor layers, we would not need to remove them. That was good news as not only would that have been a big mess, it would have been very costly. We had a quote from a floor company for a new vinyl floor, but that was really pricey, due to installation.
So, we were off to the local flooring company to find something that was DIY. We knew we wanted vinyl (especially for kitchen and bath) so we thought we might look at the vinyl lock-in-place floating floors. We told them what we wanted to do and wanted to look at. They were showing us what they had in the vinyl floating floors, but then mentioned another product we had never heard of and I had done quite a bit of research on vinyl flooring. This product has been around for a while, maybe a couple of years, but I just hadn’t heard of it.
The product we used is Raskin Elevations Vinyl Floating Floor http://elevationfloors.com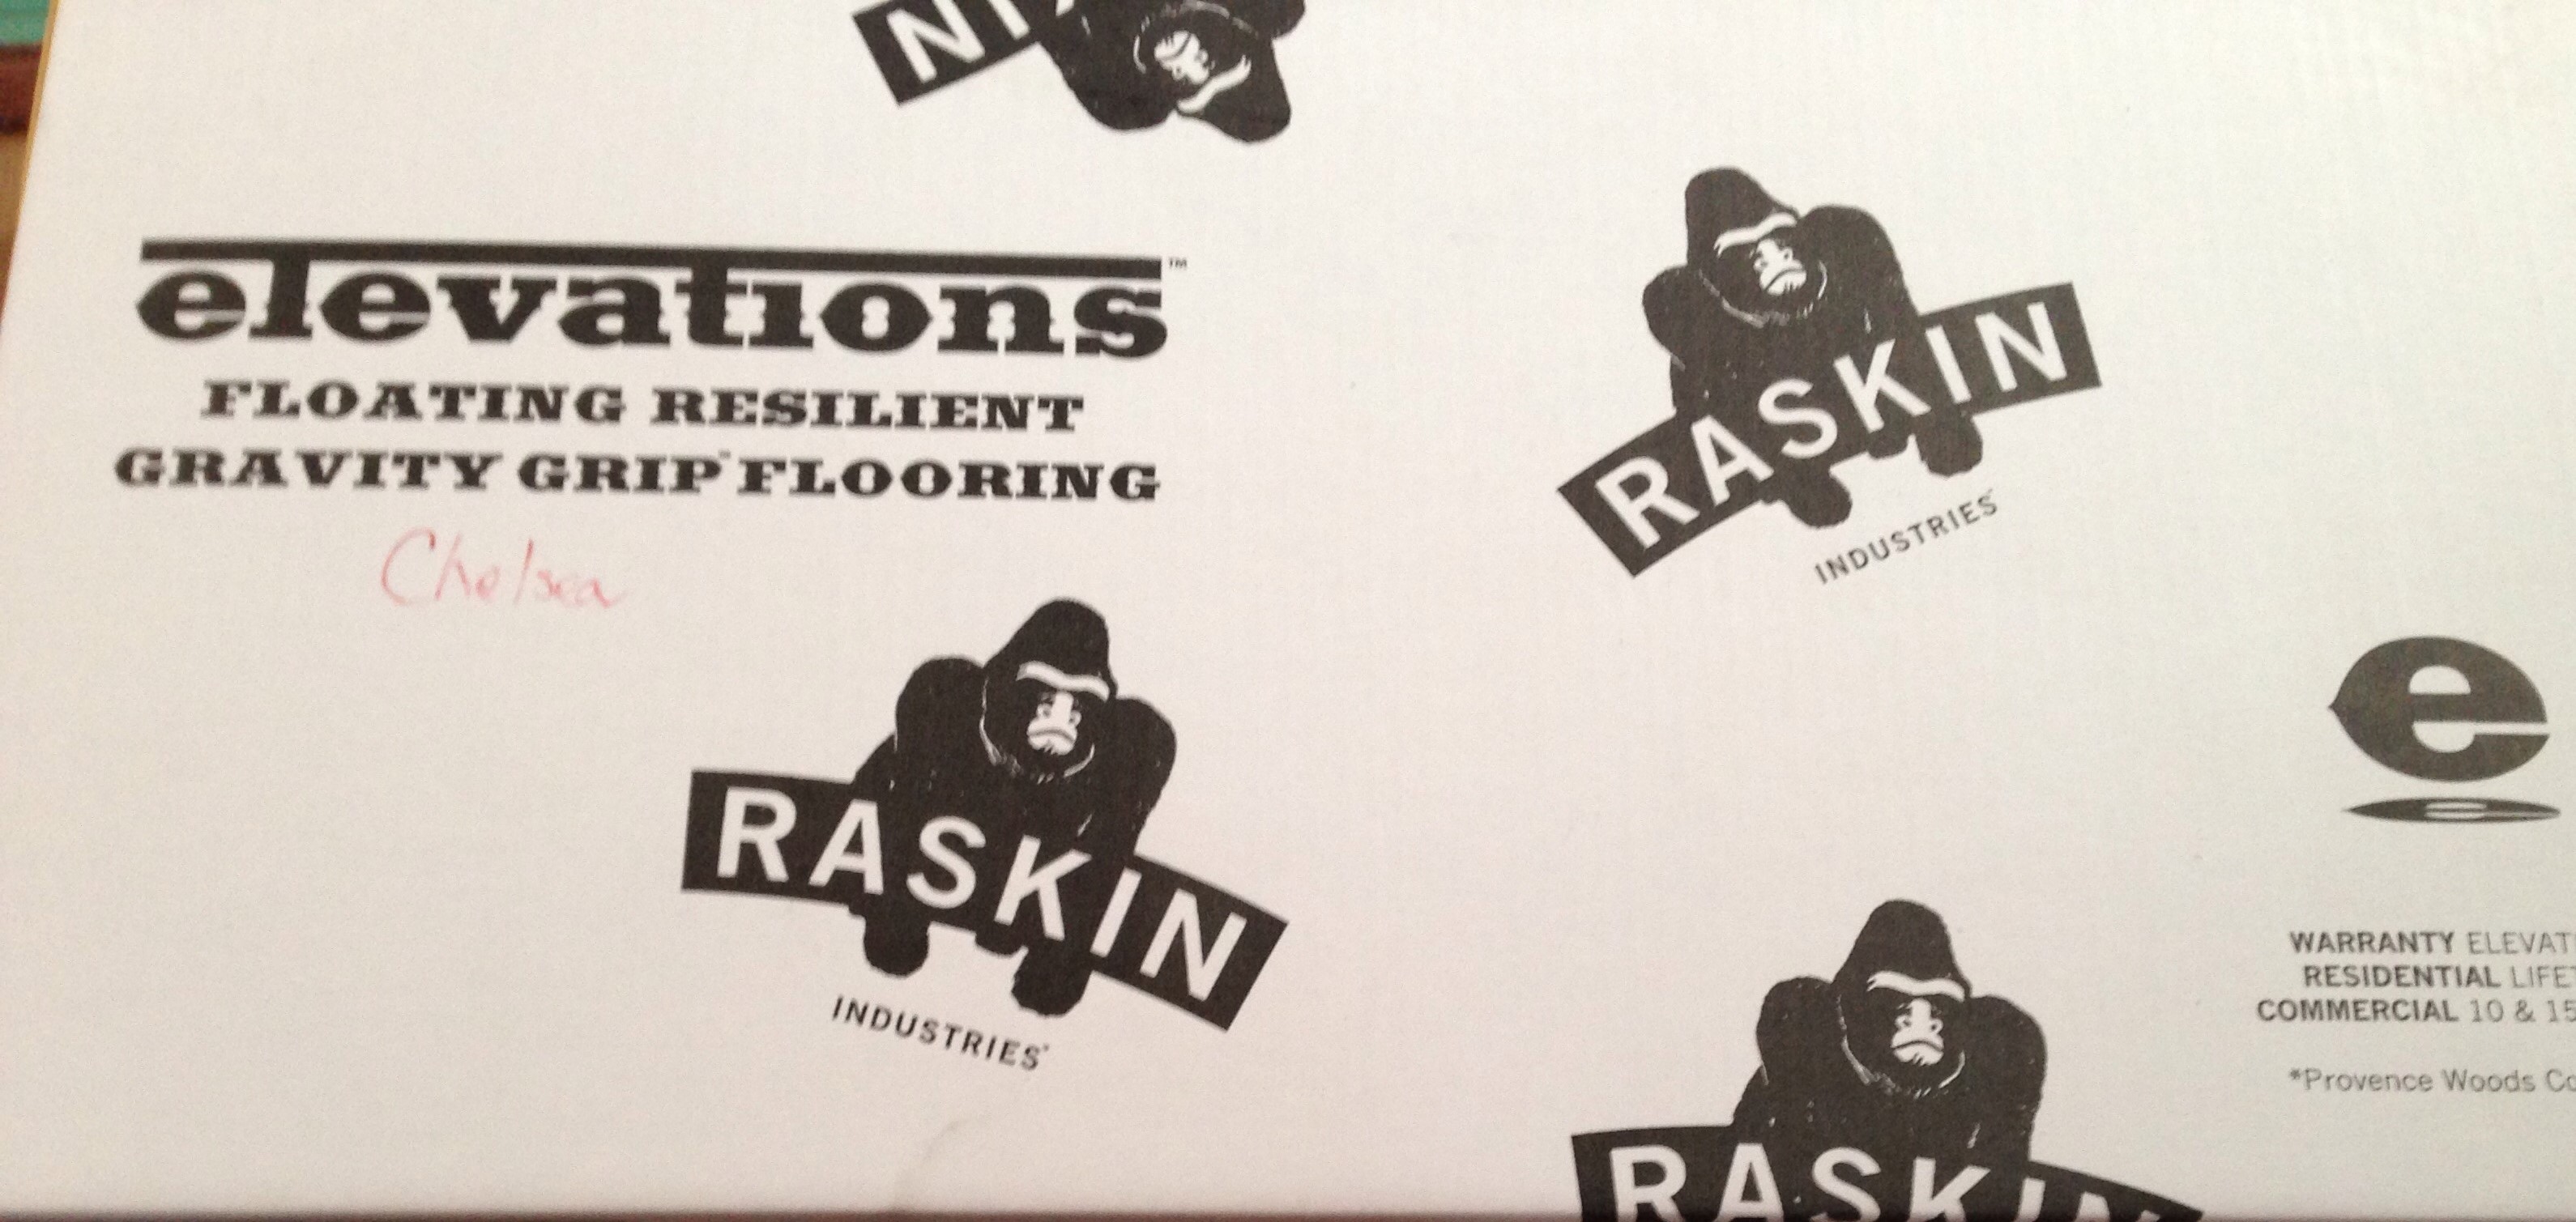
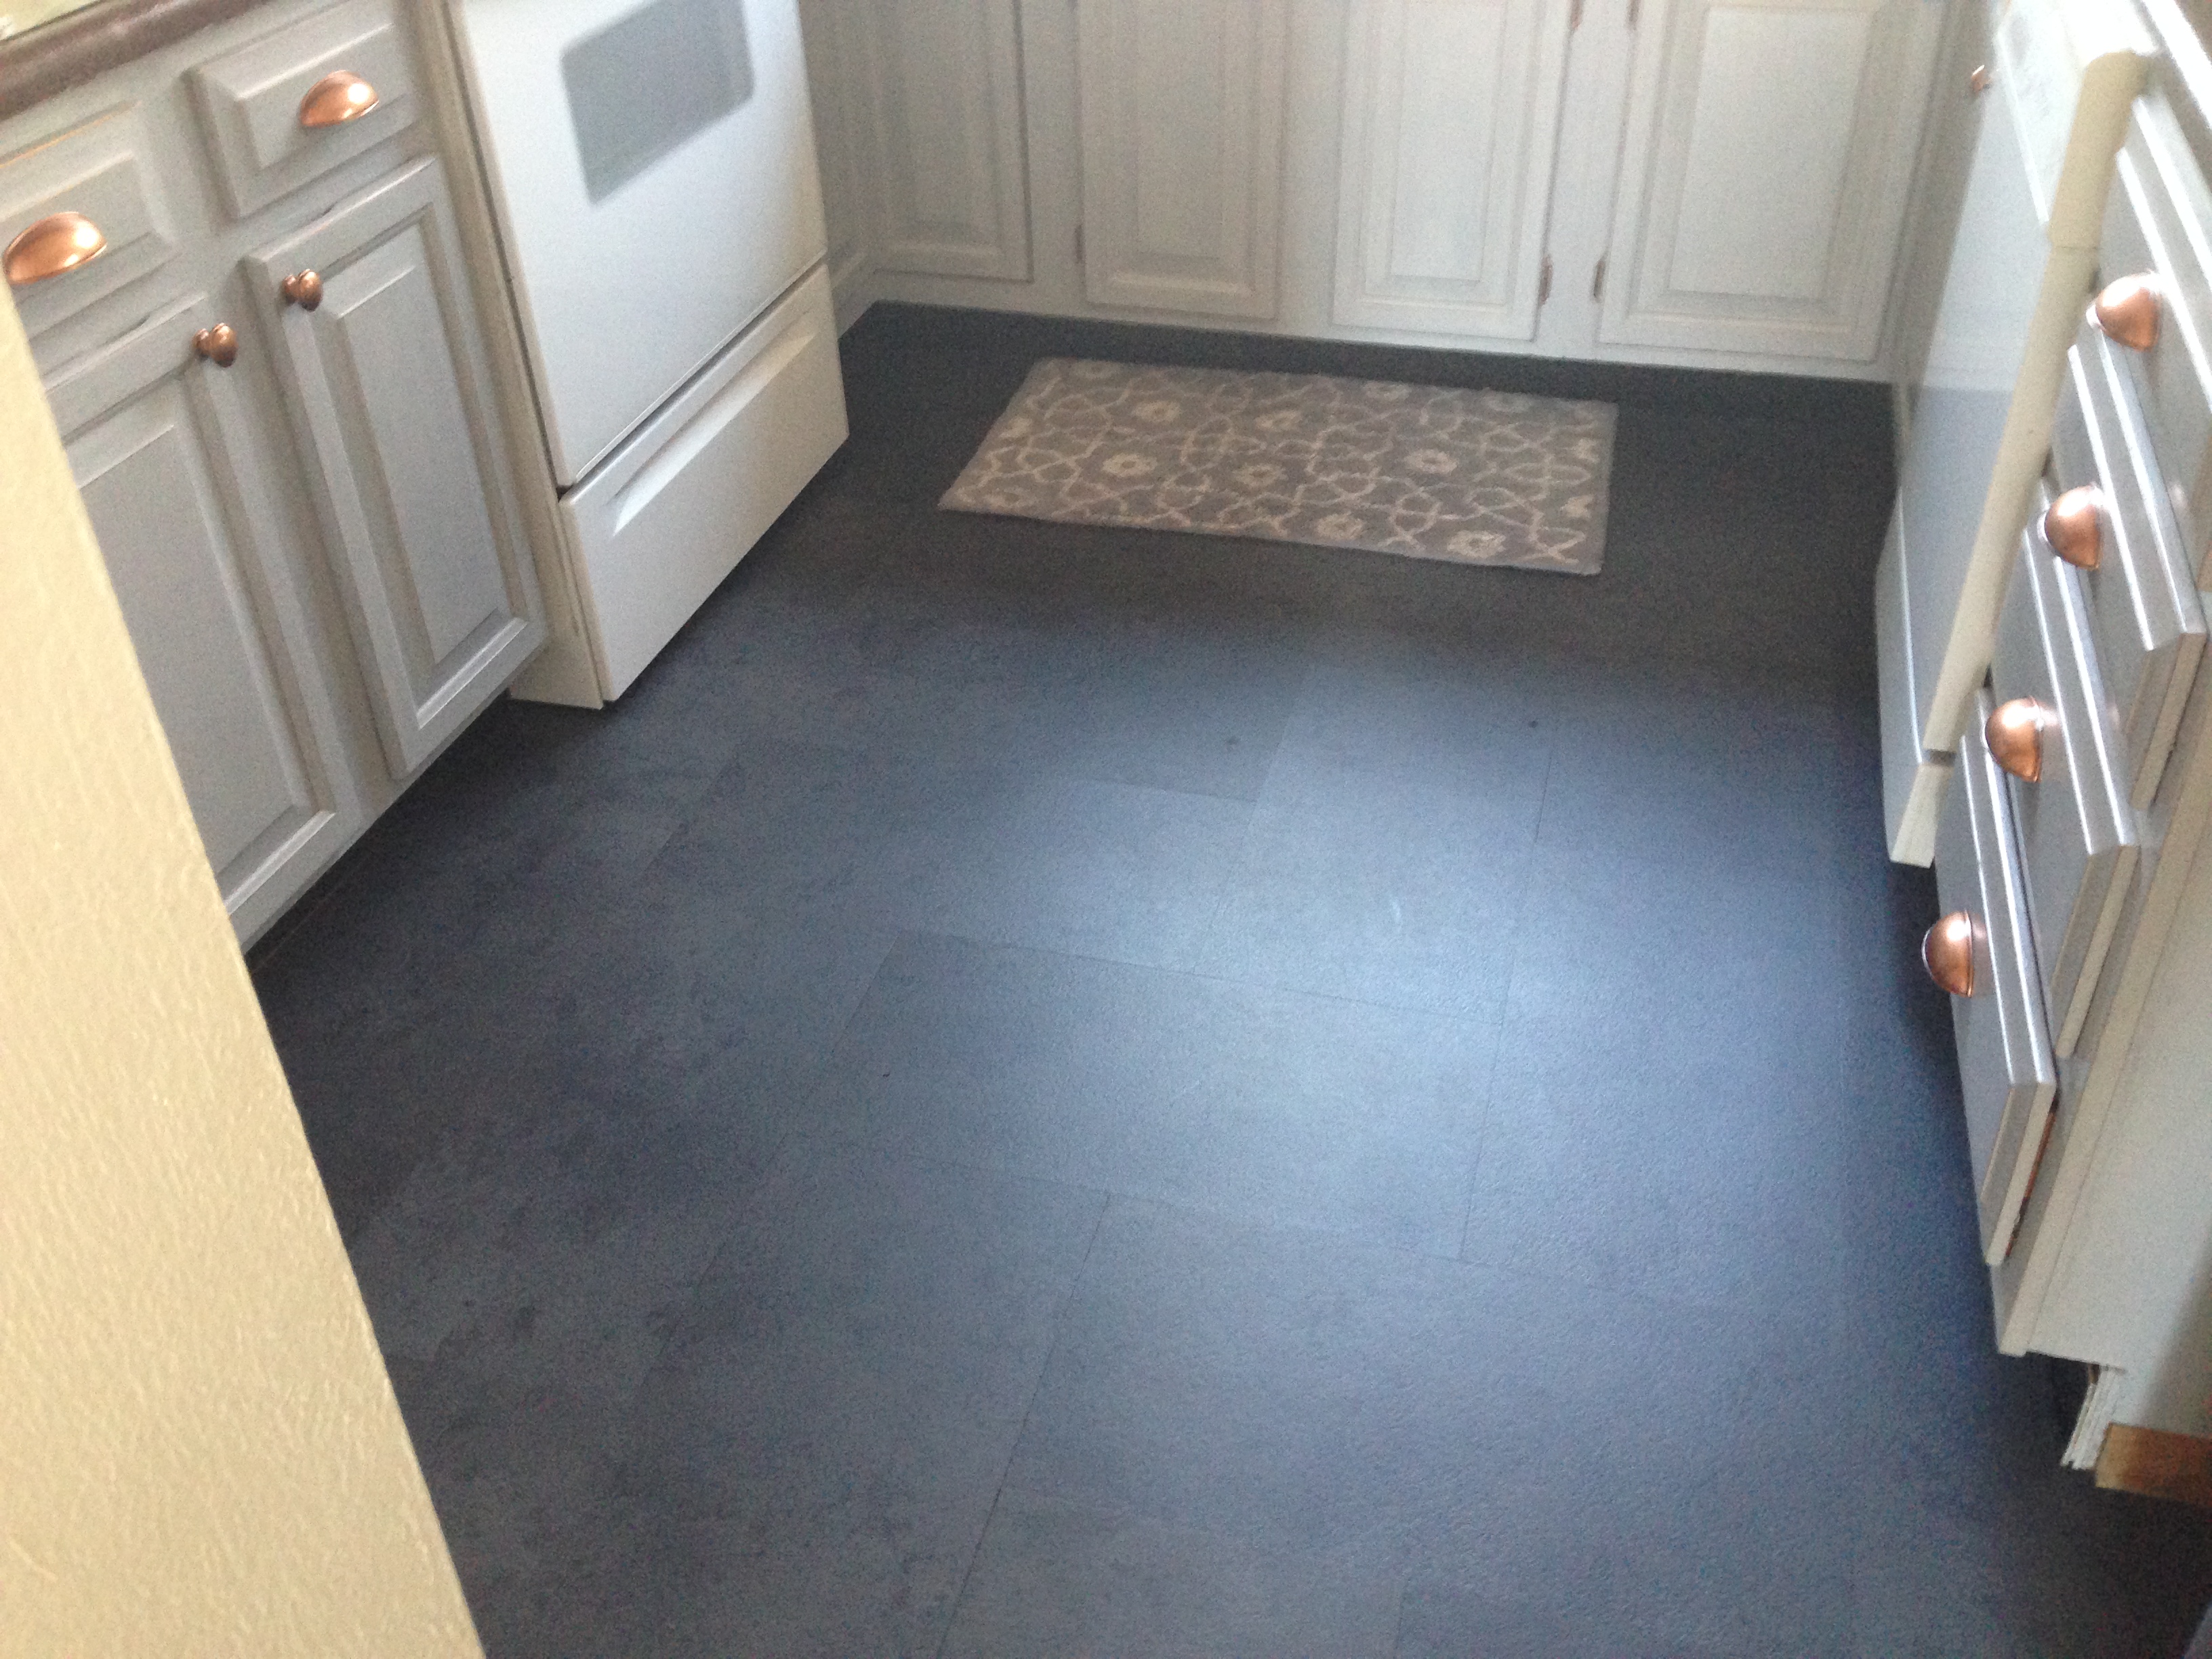
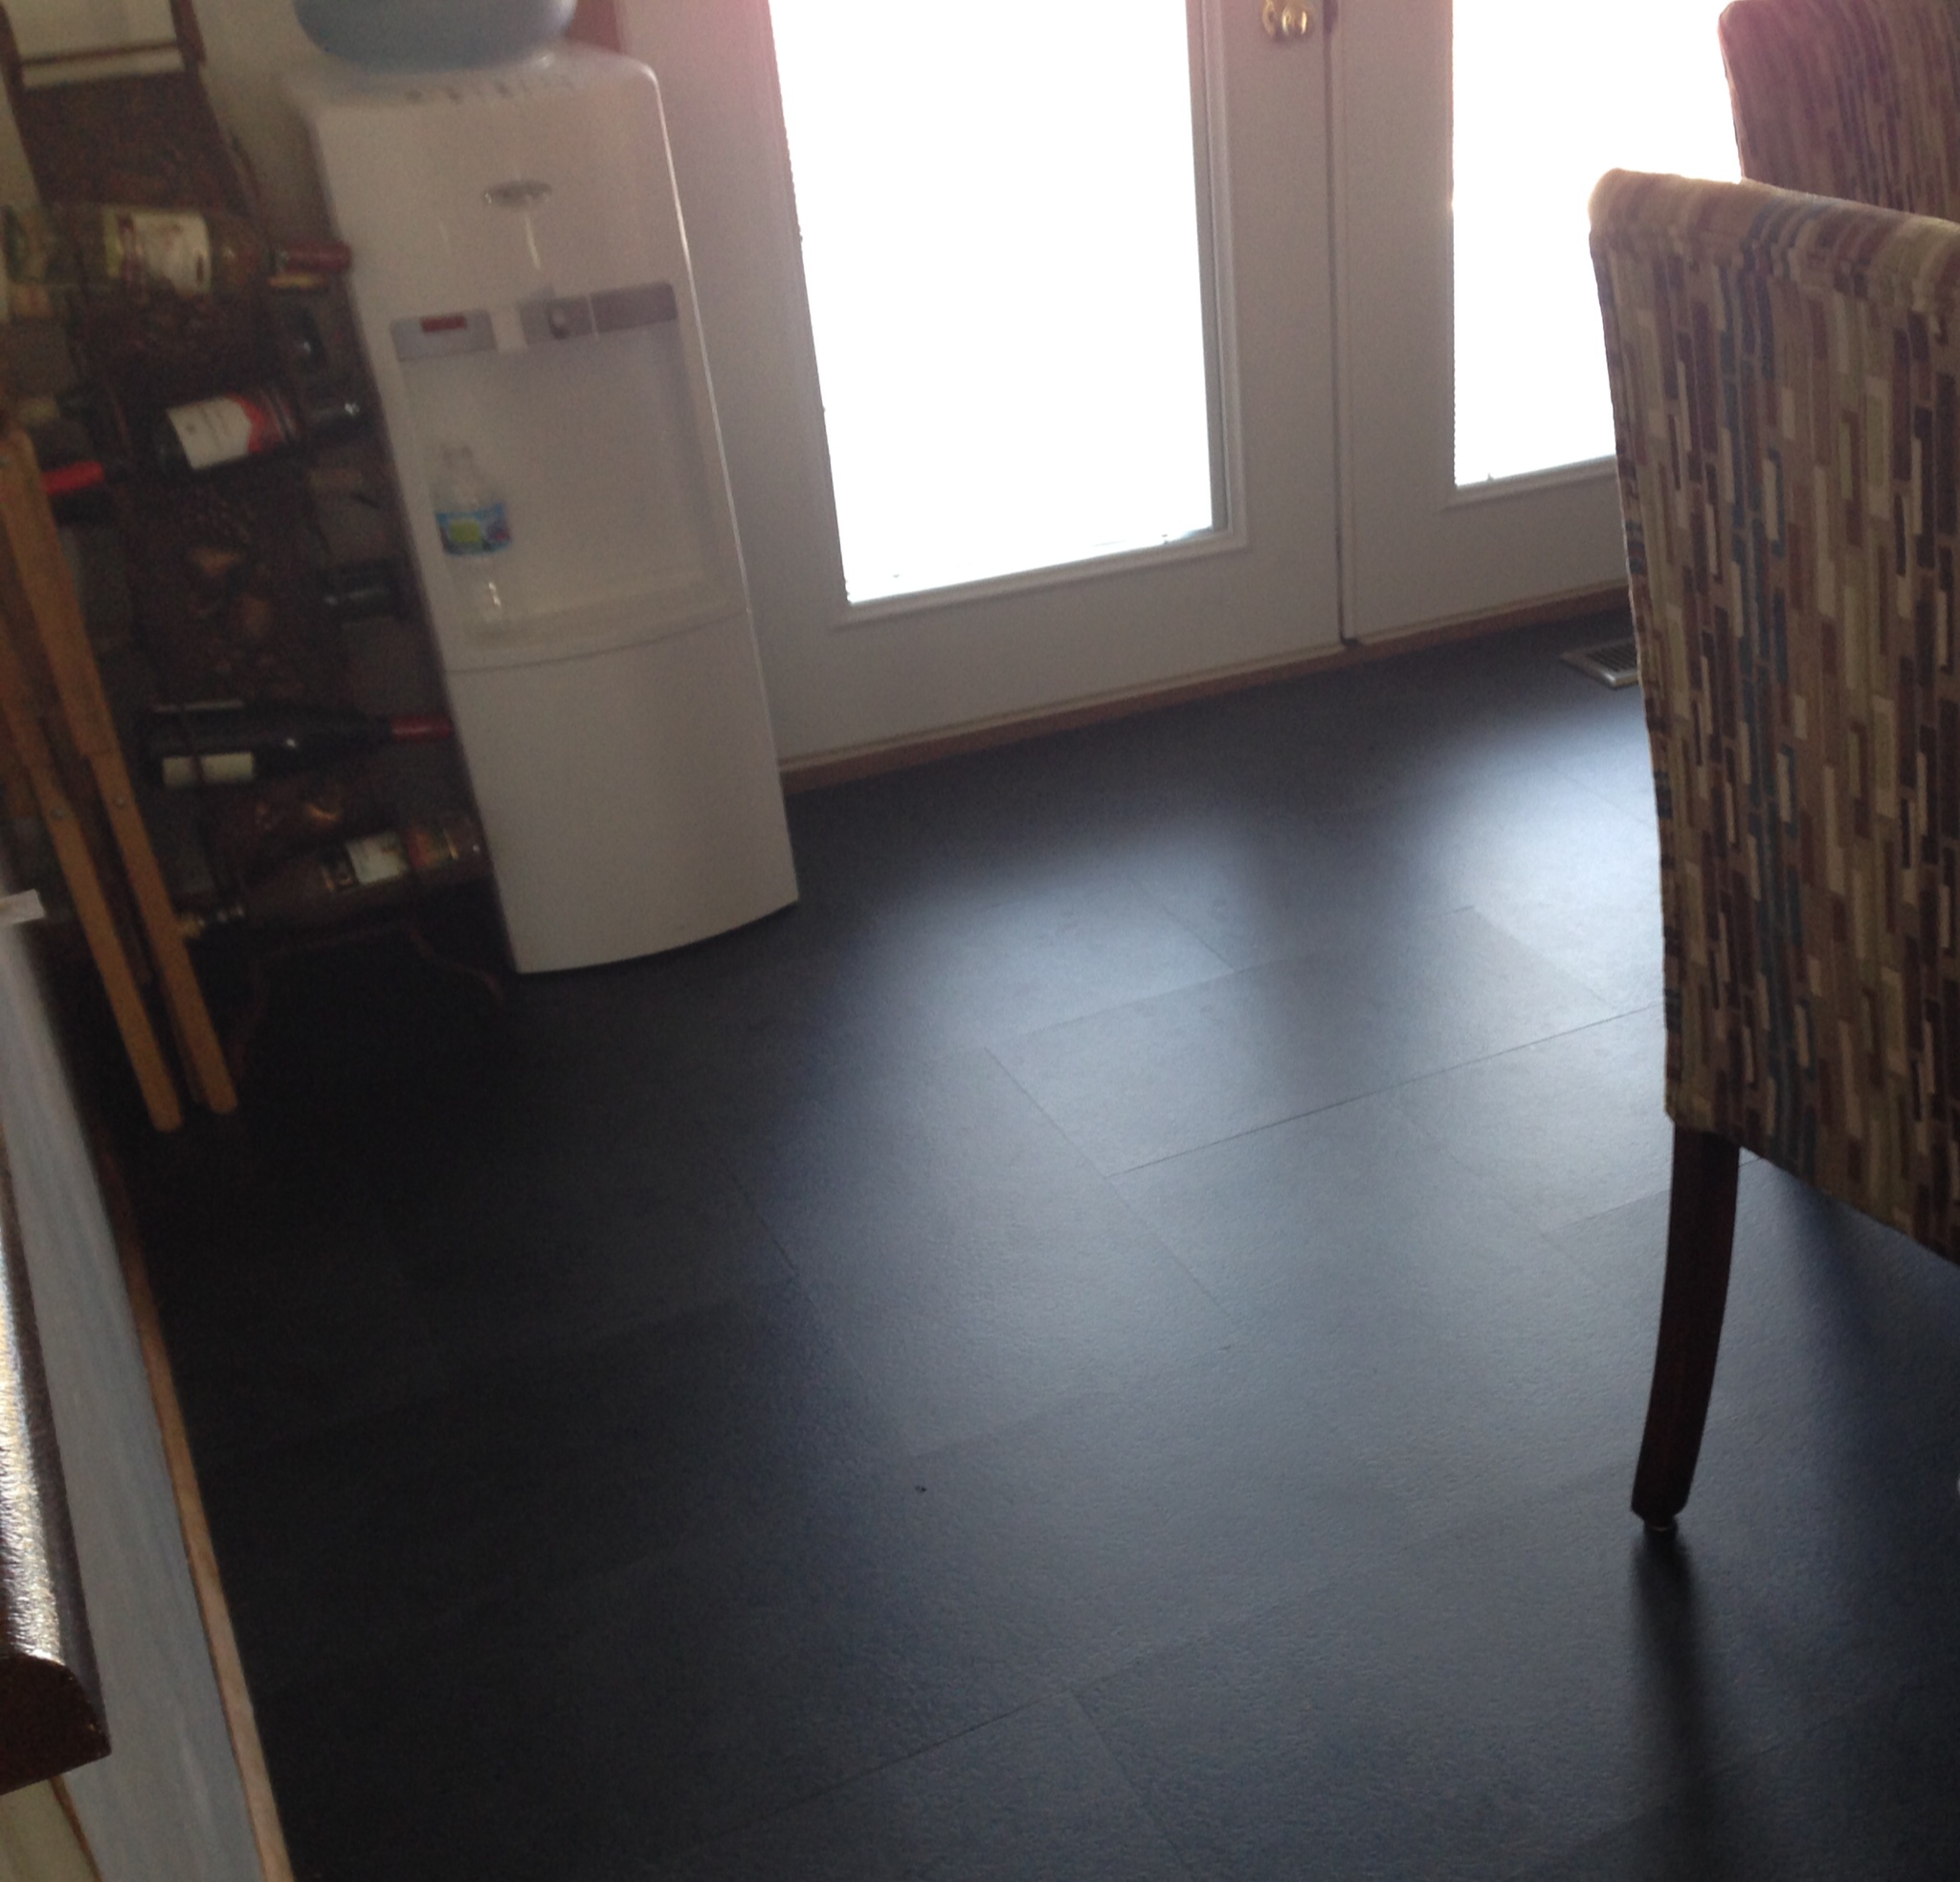
 The new tile is in! The new tile is in! Our tile is called Chelsea. It is a charcoal gray and looks like slate.
This product is a type of floating floor, but involves no glue or locking in place. Except for perimeters and every 10 feet or so, these tiles or planks are placed dry, butting up to each other. After the floor is down, if a tile or plank gets ruined, just pry it up and replace it with a new one!
For the perimeters and every 10 feet, you spray a sticky adhesive that looks like the spray snow in a can. It goes on white and dries clear. This allows you to set the first row of planks with a good grip (the planks are still easy to pick up and re-position) and makes the others easy to place. The most time-consuming part is the cutting of tiles to fit around corners.
We are loving the floors! They look great, they are quiet to walk on, and best of all, they are easy to sweep or vacuum, and easy to clean. We may just do our upstairs bath with them, too. We ended up with two full boxes left over, so it would only take another box or two, and maybe just one more little spat!
Lucy came over one day and helped lay some tiles. Didn’t she do a great job? 🙂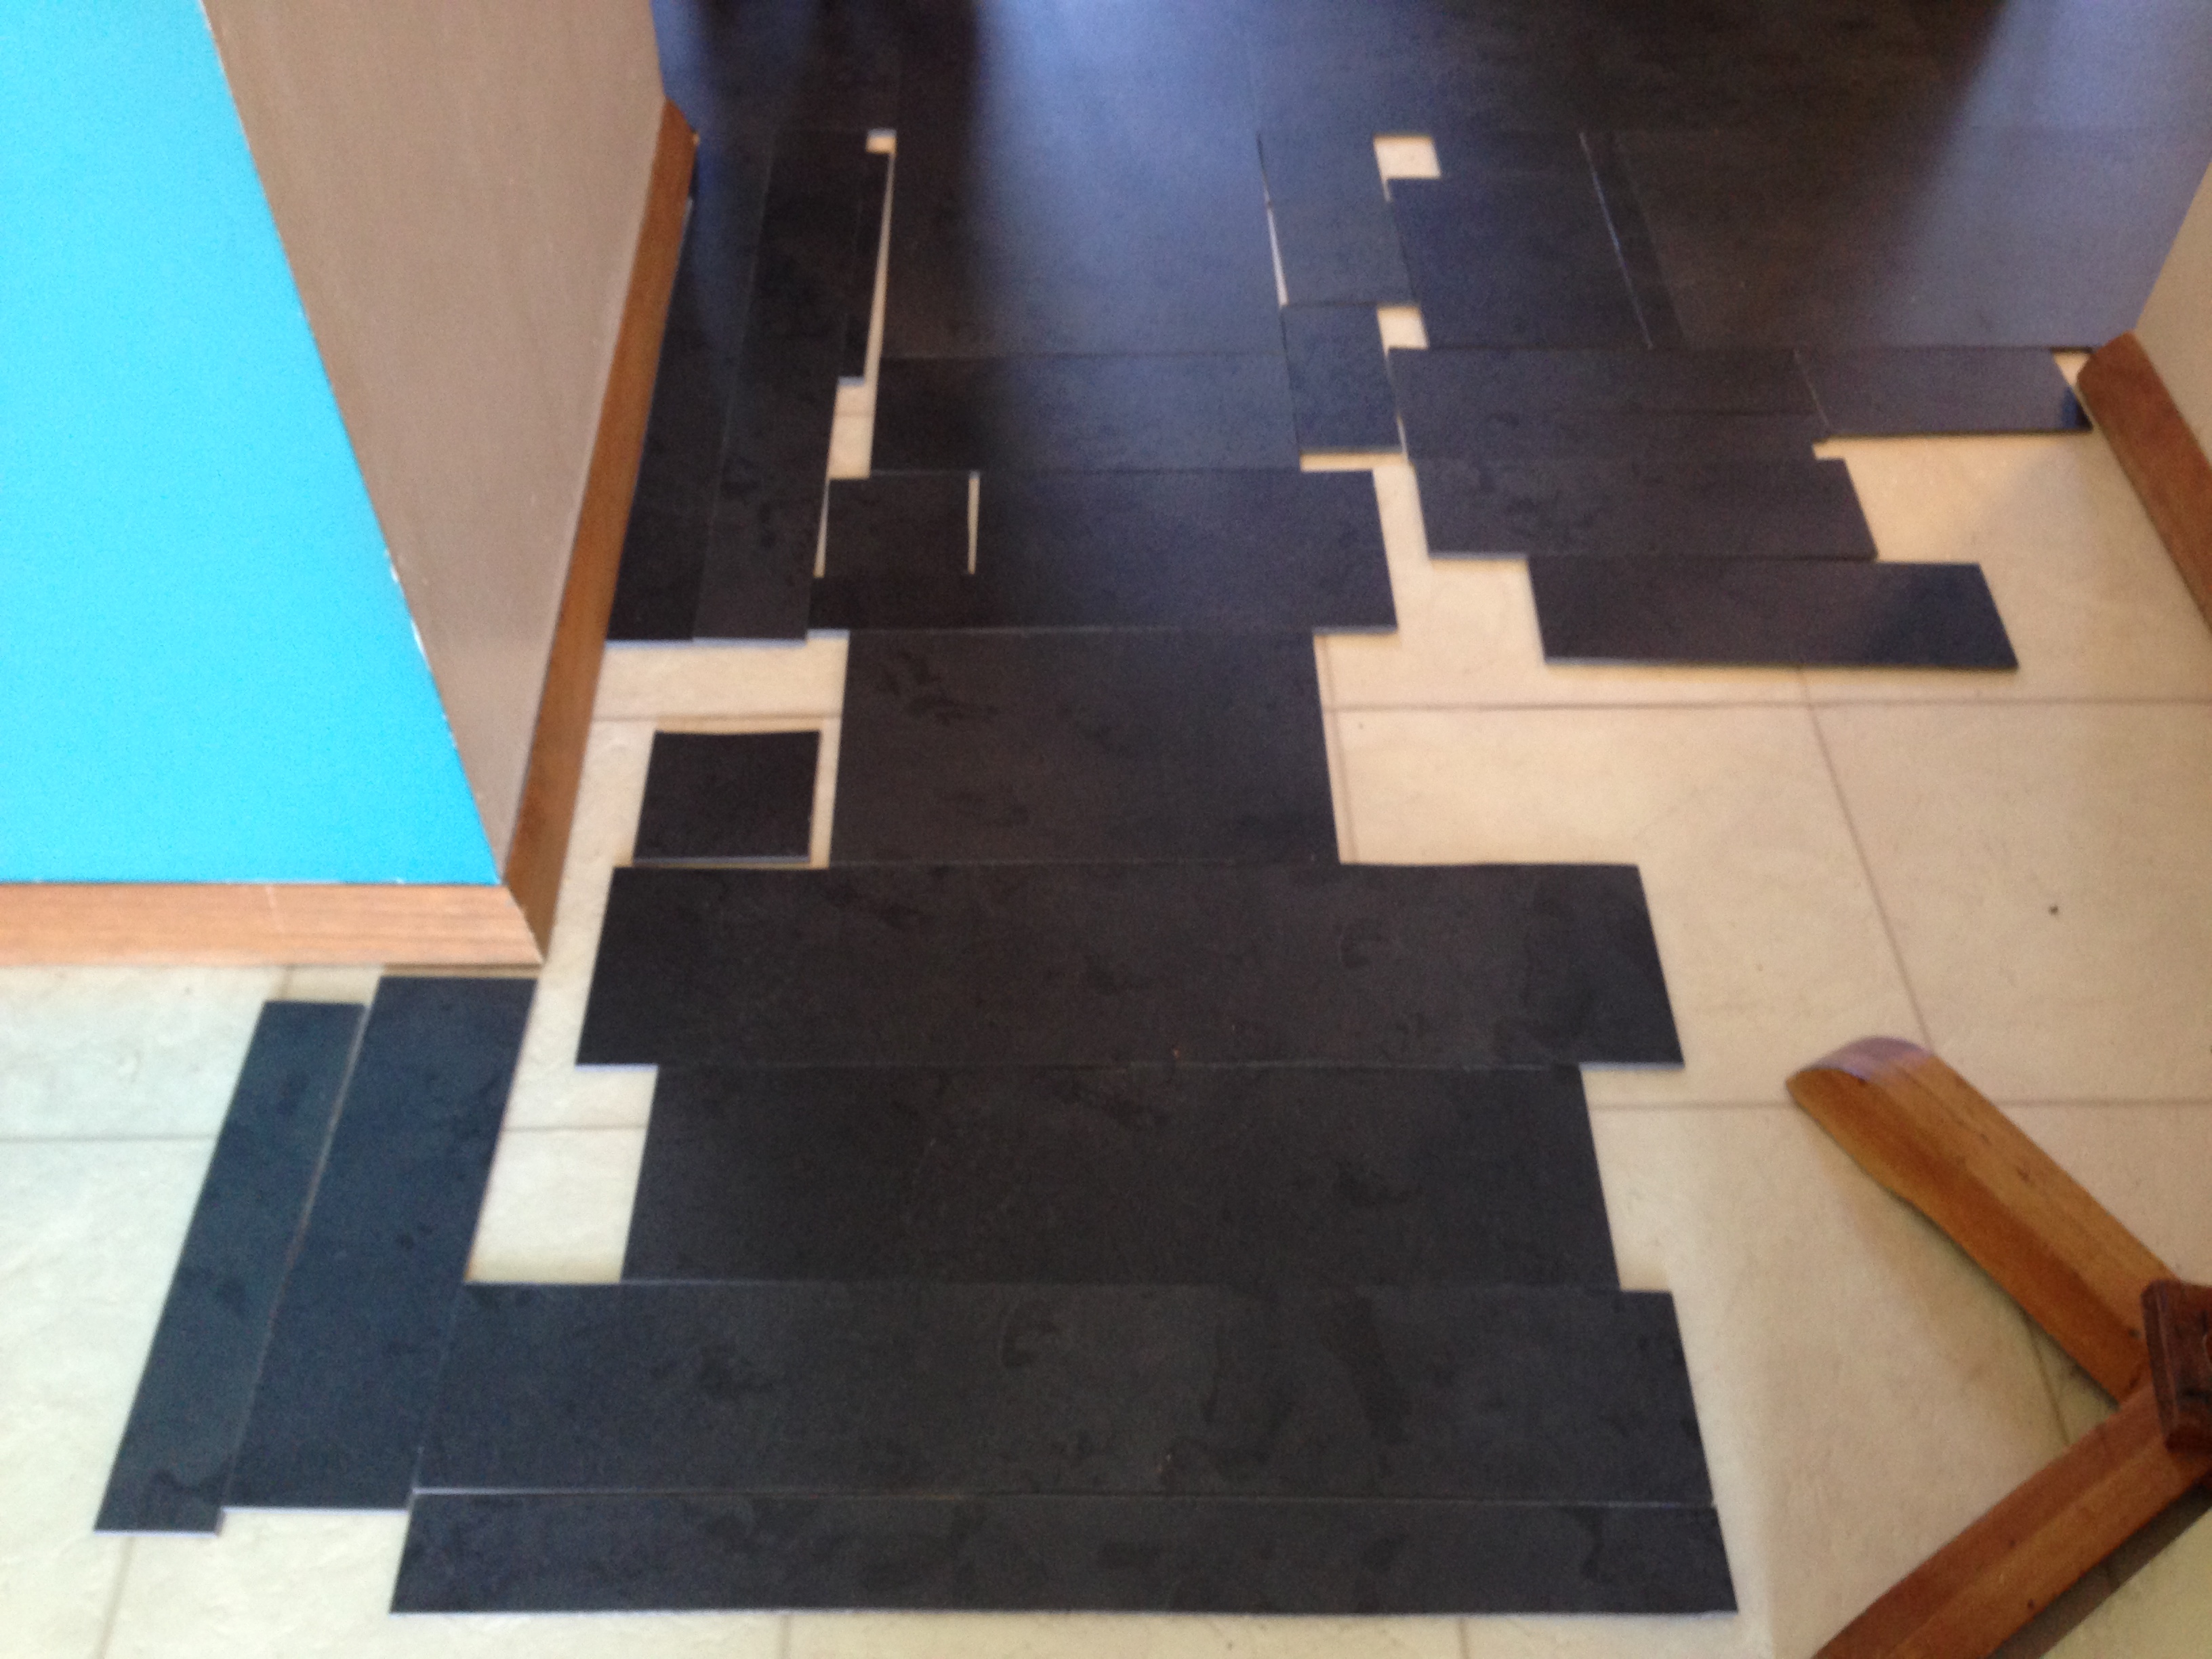
And, I do believe the cat is loving the floors, too!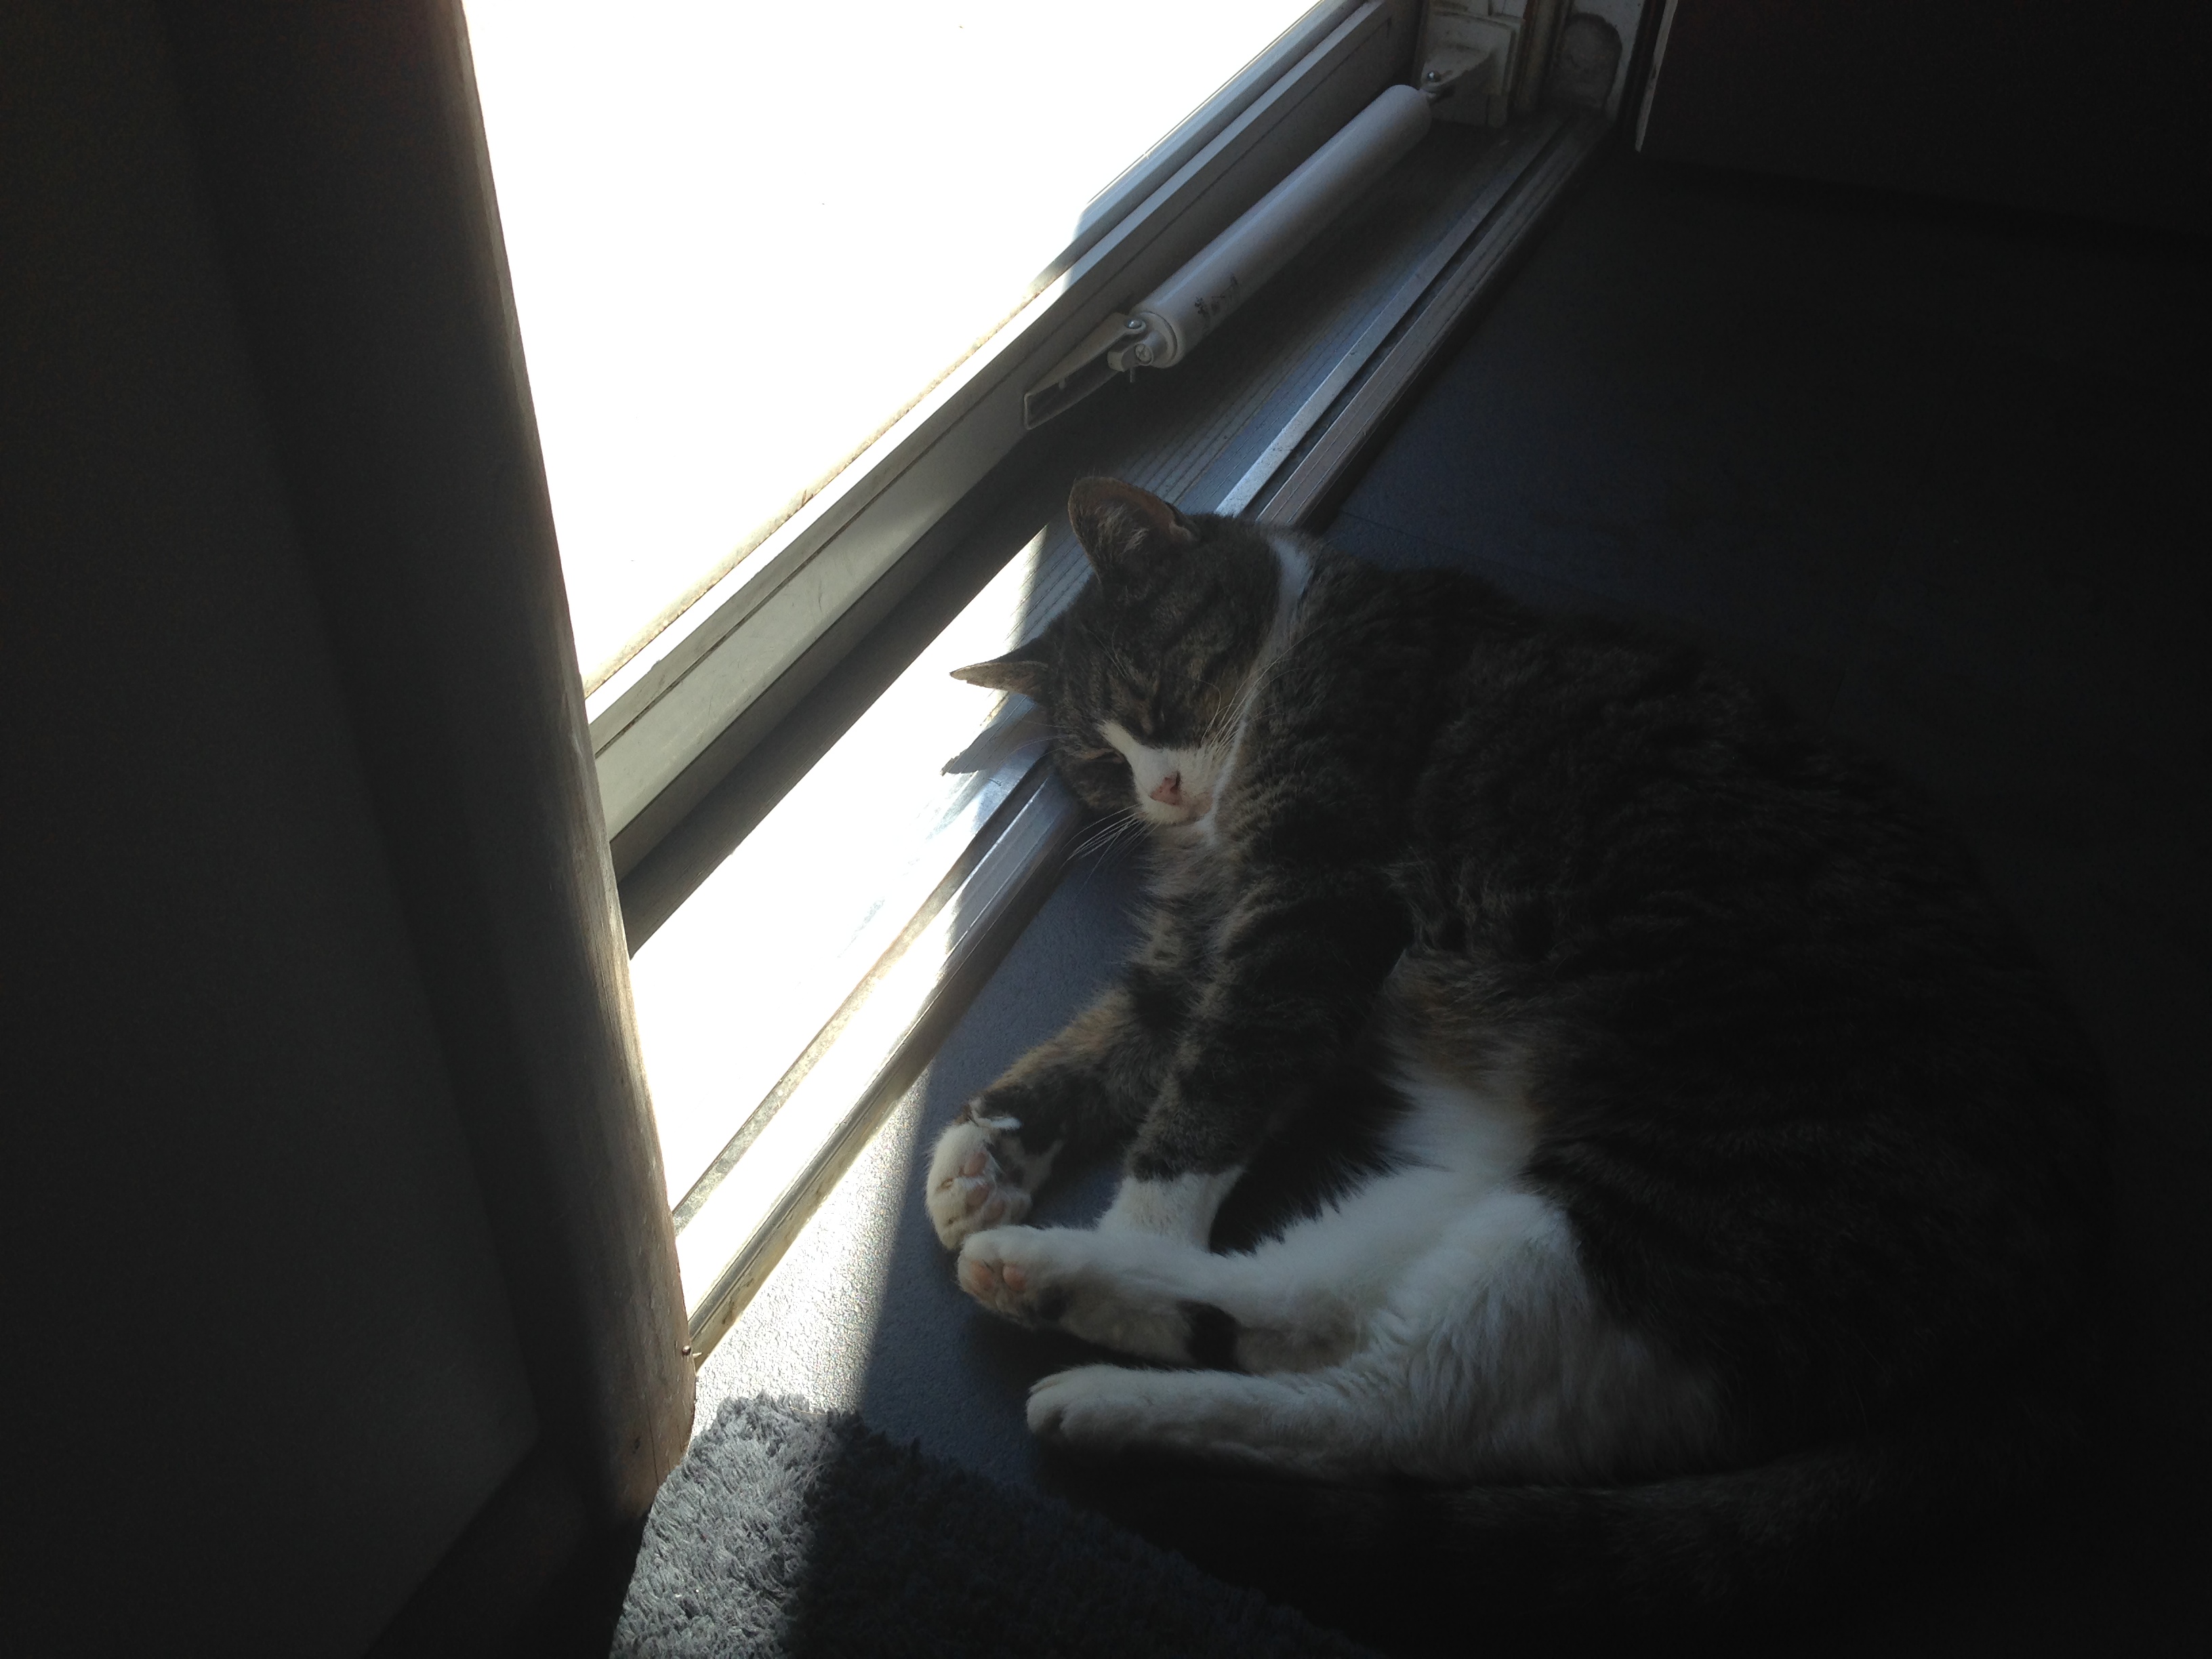

It looks just great. I really admire all of your projects, thanks for sharing.
LikeLike
Pingback: Vintage Buffet to Bathroom Vanity Using Chalk-Type Paint | SharSum's Paints